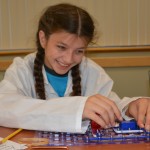
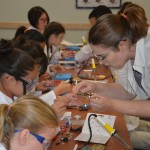
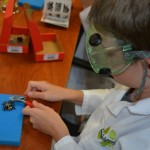
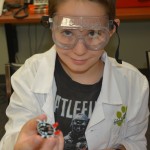
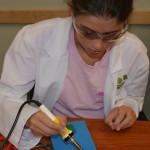
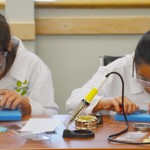
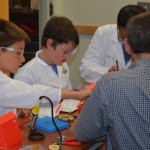
2018 STEM Kid’s Science Camp – Coming March 2018!

2018 STEM Challenge Kids Science Camp

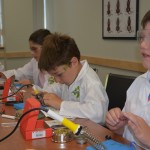
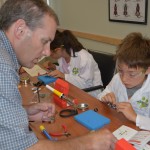
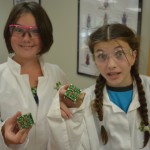
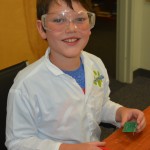
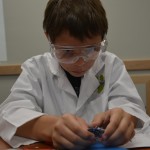
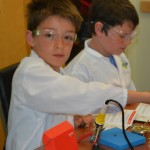
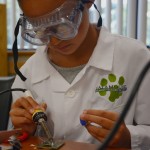
Catamount Kids is partnering with the STEM Challenge Initiative, Teknor Apex, and the St. Albans Museum to bring a STEM Kid’s Science Camp to St. Albans!ClassFunny2_IMG_8466

We’re excited about this event, which will be held in March 2018.

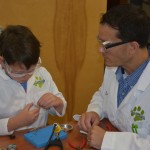
This workshop will run for four weeks, and we will give kids lots of hands-on learning opportunities.

Dates:    Friday March 9, 2018

Friday March 16, 2018

Friday March 23, 2018

Friday March 30, 2018

Time:   6 PM to 8PM

Location: Bliss Room at the Saint Albans Museum

9 Church Street, St. Albans, Vermont 05478  (Click Here for Directions)

Cost: $100 per student, Class is designed for students in grades 3 and up.

  • Covers registration fee for all four class dates
  • Includes a T-shirt, water bottle, Family Passes to the Saint Albans Museum, and several projects worked on throughout the camp!


Topics Covered include:

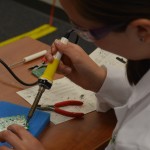
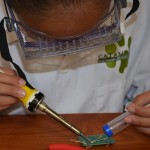
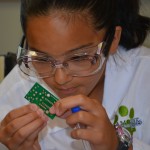
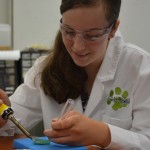
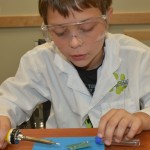
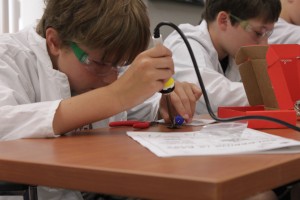
  • Learning to Solder
  • Learning about DNA
  • All About Density
  • Polymer Chemistry

Registration will open on Thursday February 15th, 2018 at 7 PM Eastern Time.

Visit the STEM Challenge Initiative Website to Register and Learn More!
read-moreClick Here to learn more


Summer Camp 2016 – Our Most Popular “Learn to Solder” Camp is Back!

Learn To Solder Camp to be held Saturday August 13, 2016

This year’s Catamount Kids Summer Camp will feature our ever-popular “Learn to Solder” class.  The class is open to kids ages 8 and up (Grades 3 and up, through high school).

This class will be split up in two levels.  Level 1 will be for first time participants in our Learn to Solder class, while Level 2 will be for students who have attended our Learn to Solder class before, or who have already done some soldering on their own.

Weevil Eye Kit Catamount KidsLevel 1 Project: WeevilEye

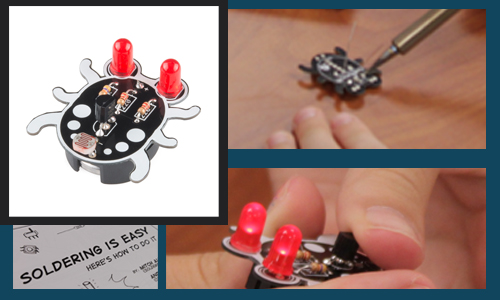
For first timers, our soldering project will be the “WeevilEye” kit.  This is a good project for those who are just starting out learning to solder.  The finished product is a cute little lady bug shaped device with red LED lights for eyes that light up in the dark.  The circuit uses a light detector to determine if it’s light or dark in the area.

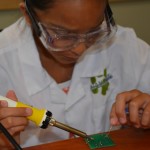
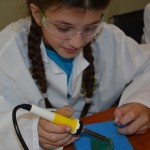
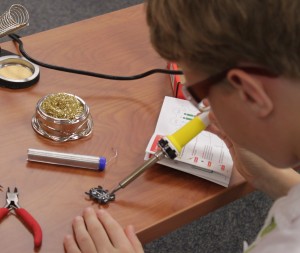
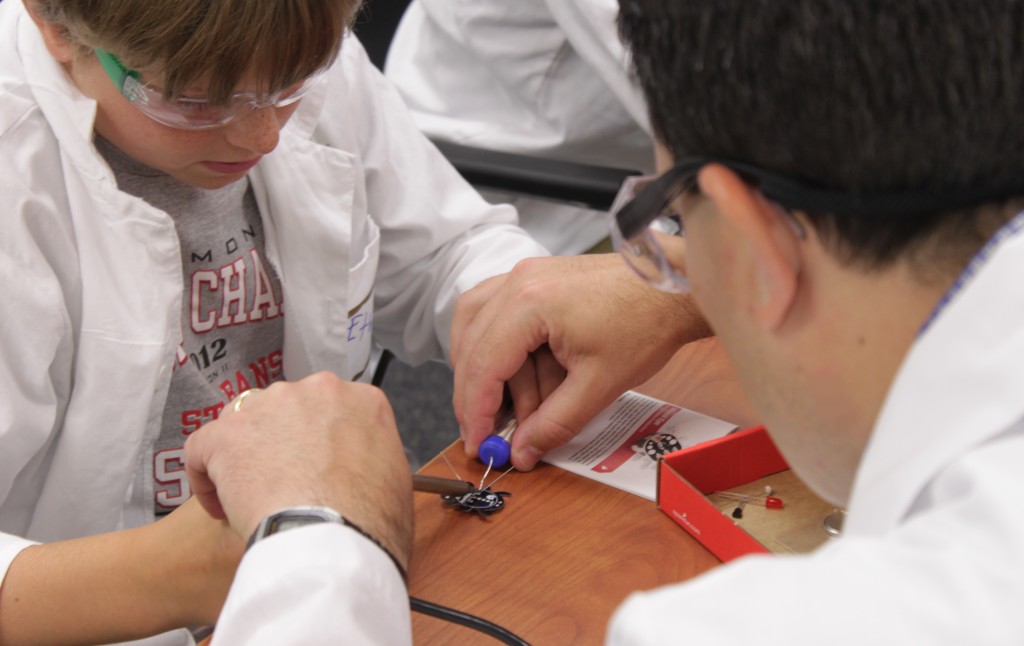
Using this kit, kids will learn basic through-hole soldering skills, such as: how to hold a soldering iron, how to apply solder, how to heat components without damaging them, how to identify electronic components, how to cut leads, and of course, how to remove a component and correct mistakes!


Level 2 Project Selections

LearnToSolderProjectsFor students who have some some basic soldering skills, we will have various projects for them to select.  Each student will get to do one soldering project, and they all get to take their project home at the end of the class.
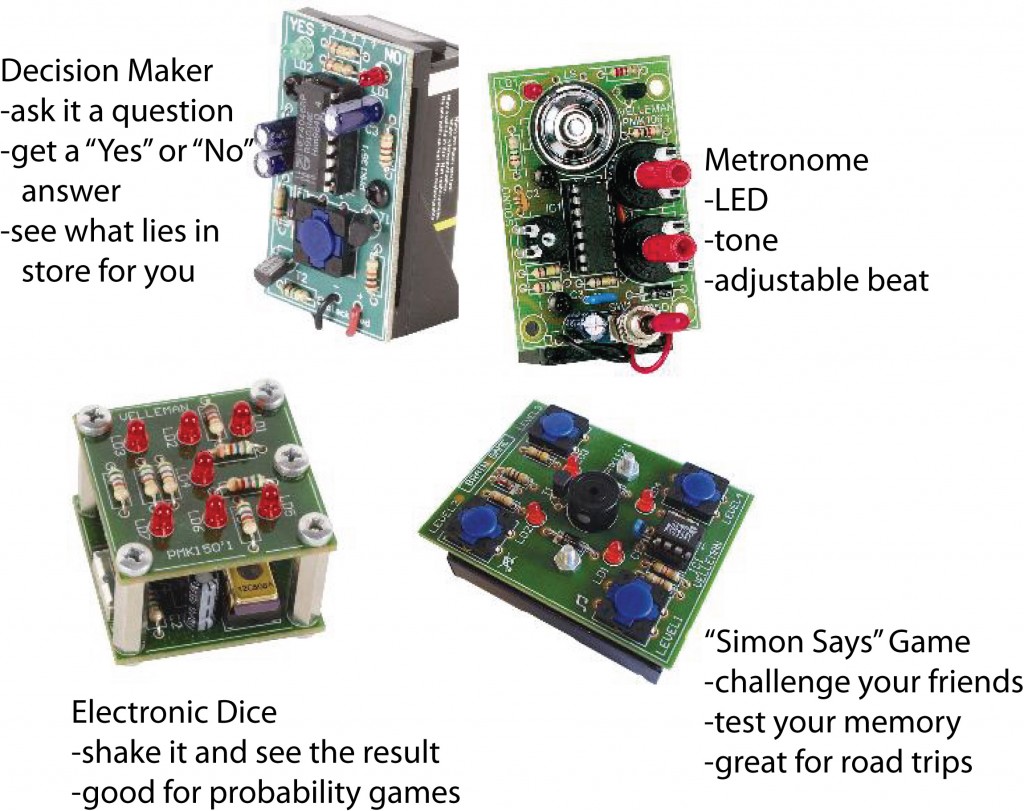
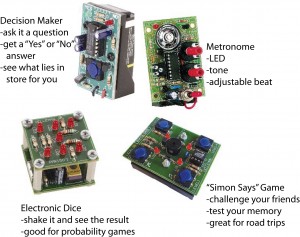
The kits available for selection include: Decision Maker, Metronome, Electronic Dice, and Simon Says Game.

The Decision Maker is a fun game that is similar to a Magic 8 Ball.  You can ask a Yes/No question, push the button on the circuit board, and a red and green LED will flash for a few moments.  Finally, either the red or green light will stay illuminated, providing the answer to your question (Yes = green, No = red).

The Metronome is a cool circuit board that flashes a light and produces a tone in time with a beat.  You can set the beat by adjusting a dial on the circuit board.  This project is fun for musicians, as they will have a working metronome they can use for music practice.

The Electronic Dice is great for playing probability games.  When you shake the device, the lights will all flash for a period of time.  Finally, some of the lights will stay on.  There are 7 lights, and they light up in one of six different patterns, resembling the numbers on a dice.  The lights light up in random orders… or do they?   You can keep track of several successive rolls to see if there is a pattern, or if it really is random.

The Simon Says game is one of the most popular circuit board selections.  This circuit board has four buttons and four lights.  It also makes a tone.  You have to push the button associated with each light as it lights up.  The game gets harder with each round, as you have to remember the entire sequence of lights and push the buttons in the correct order.  You’ll have lots of fun testing your memory against your friends’.

We hope you enjoy our Learn to Solder class!

DrH-EthanSoldering_IMG_4191


Catamount Kids Parents’ Night is Back!

Catamout Kids Fun at Parents' Night!Catamount Kids Fun at Parents' Night!Catamount Kids Fun at Parents' Night!


Catamount Kids Sweetheart Soldering ProjectSpring 2016 Catamount Kids Parents’ Night

Have you ever thought that you would like to do the activities the Catamount Kids are doing?  Now is your chance!

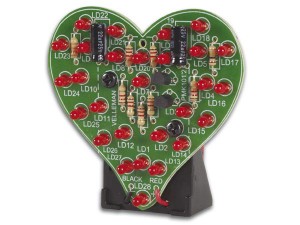
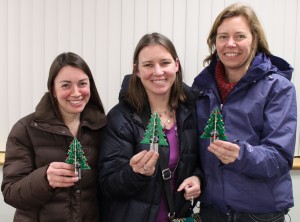
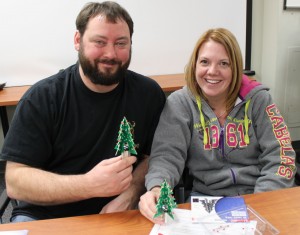
Just in time for Valentine’s Day, Catamount Kids will be holding our next Parents’ Night session.  This will be a chance for us grown ups to have fun doing some science and engineering activities.  Using basic soldering skills, our activity will be to build a circuit board in the shape of a heart with red LEDs that light up.  The Heart Circuit Board will be yours to keep, and is a perfect fun decoration or gift for your special sweetheart for Valentine’s Day!

No soldering experience is necessary.  This is a fun and easy project.  Of course, we welcome the seasoned solderer as well.  The class is open to all interested adults, whether or not you have a child or grandchild in the Catamount Kids program, or regardless of if you are a parent or not!  Join us and have some fun learning to solder, or practicing your soldering skills.


Date: Friday, February 12th, 2016

Time: 6:00 PM to 7:45 PM

Place: Catamount Research and Development, a.k.a. “The Science Center”

Cost: $15   This includes the cost of the Heart soldering project, which is yours to keep.

Click Here to Register Class Complete!

2015 Learn to Solder Summer Camp – Photo Gallery

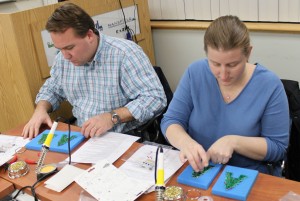
Our recent “Learn To Solder” camp was a great success. We had so much fun teaching the Catamount Kids about electronics. Many of the students had prior soldering experience, while a few were new to soldering. Everyone seemed to have a good time.
Here are some photos from the class!

Summer Camp 2015 – Learn to Solder

Learn To Solder Camp to be held Saturday August 22, 2015

This year’s Catamount Kids Summer Camp will feature our popular “Learn to Solder” class.  The class is open to kids ages 8 and up (Grades 3 and up, through high school).

This class will be split up in two levels.  Level 1 will be for first time participants in our Learn to Solder class, while Level 2 will be for students who have attended our Learn to Solder class before, or who have already done some soldering on their own.

Weevil Eye Kit Catamount KidsLevel 1 Project: WeevilEye

For first timers, our soldering project will be the “WeevilEye” kit.  This is a good project for those who are just starting out learning to solder.  The finished product is a cute little lady bug shaped device with red LED lights for eyes that light up in the dark.  The circuit uses a light detector to determine if it’s light or dark in the area.

Using this kit, kids will learn basic through-hole soldering skills, such as: how to hold a soldering iron, how to apply solder, how to heat components without damaging them, how to identify electronic components, how to cut leads, and of course, how to remove a component and correct mistakes!


Level 2 Project Selections

LearnToSolderProjectsFor students who have some some basic soldering skills, we will have various projects for them to select.  Each student will get to do one soldering project, and they all get to take their project home at the end of the class.
The kits available for selection include: Decision Maker, Metronome, Electronic Dice, and Simon Says Game.

The Decision Maker is a fun game that is similar to a Magic 8 Ball.  You can ask a Yes/No question, push the button on the circuit board, and a red and green LED will flash for a few moments.  Finally, either the red or green light will stay illuminated, providing the answer to your question (Yes = green, No = red).
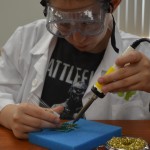
The Metronome is a cool circuit board that flashes a light and produces a tone in time with a beat.  You can set the beat by adjusting a dial on the circuit board.  This project is fun for musicians, as they will have a working metronome they can use for music practice.

The Electronic Dice is great for playing probability games.  When you shake the device, the lights will all flash for a period of time.  Finally, some of the lights will stay on.  There are 7 lights, and they light up in one of six different patterns, resembling the numbers on a dice.  The lights light up in random orders… or do they?   You can keep track of several successive rolls to see if there is a pattern, or if it really is random.


The Simon Says game is one of the most popular circuit board selections.  This circuit board has four buttons and four lights.  It also makes a tone.  You have to push the button associated with each light as it lights up.  The game gets harder with each round, as you have to remember the entire sequence of lights and push the buttons in the correct order.  You’ll have lots of fun testing your memory against your friends’.

Snap Circuits

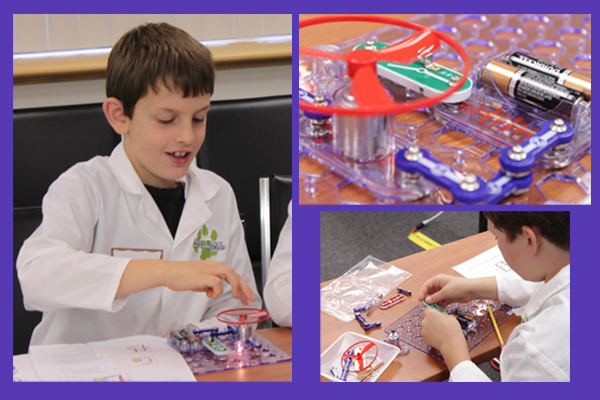
SnapCircuitsIn addition to our soldering activities, we will spend some time learning basic principles of electricity using Snap Circuits.  Snap Circuits are modular pieces that all fit together using snaps.  You can piece together parts of circuits like resistors, LEDs, batteries, motors, and buzzers.


We hope you enjoy our Learn to Solder class!

DrH-EthanSoldering_IMG_4191


Computer Programming With LOGO – Information and Resources

Catamount Kids Having Fun with LOGO ProgrammingOur February 2015 class was our first offering in our new Middle School Catamount Kids series.  We did a class on computer programming concepts using the LOGO language.
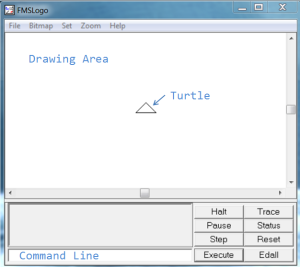
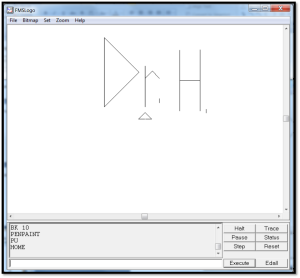
LOGO is a computer language that has been around for some time.  It is primarily a Parts of the LOGO Screen with Catamount Kidsdrawing environment.  The drawing tool is called a “turtle.”  The turtle sits in the middle of a drawing area, and using a series of commands, the programmer instructs the turtle to move in a coordinated fashion.  LOGO is a great tool for introducing computer programming concepts to kids because it is fairly intuitive and easy to grasp basic concepts.  It reinforces logic and critical thinking, math skills, geometry, and creativity.
The Catamount Kids really enjoyed programming with LOGO.  Here is some information to help you work with LOGO at home.  You can download versions of LOGO freely on the internet, and there are lots of websites with information about LOGO.

Using FMS LOGO

The version of LOGO that we used in our Catamount Kids class is called “FMS LOGO.”  You can download FMS LOGO and install it on your home computer, and your kids can be programming with LOGO on their own.

To access FMS LOGO, visit http://fmslogo.sourceforge.net/.  This page has some great resources, including a video demo, an online user’s manual, and helpful links.

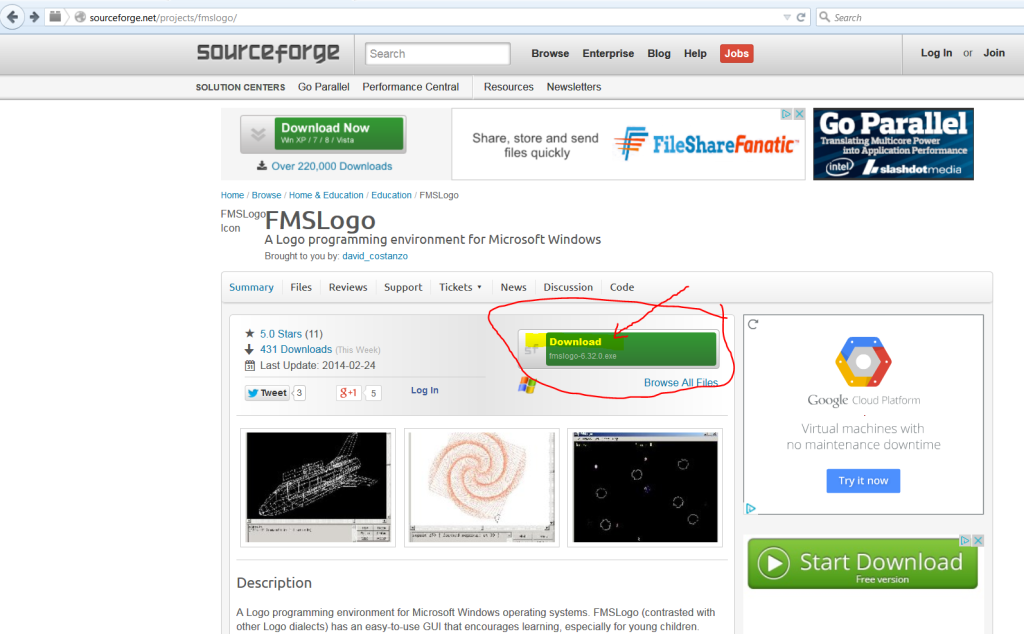
Downloading FMS LOGO with Catamount KidsTo download FMS LOGO, visit http://sourceforge.net/projects/fmslogo/.  NOTE, the FMS LOGO download page is a bit confusing.  Here is a screenshot of the FMS LOGO download page.  Click the button highlighted by the red arrow in the screenshot to download the FMS LOGO Program on your home computer.  It is easy to install and doesn’t take up much space or computer resources.


LOGO Links

Here is a summary of some other useful LOGO links.

FMS LOGO Workshop – a lesson plan for learning LOGO, including fun activities:    http://fmslogo.sourceforge.net/workshop/

Turtle Academy – a website where you can do LOGO programming online:   http://turtleacademy.com//index/en

MSW LOGO – another version of LOGO with several helpful links:    http://www.softronix.com/logo.html

The Great LOGO Adventure – electronic copy of the out-of-print book “The Great LOGO Adventure”.  This is a great book to have.  You can download it here as zip file with PDFs of each book chapter.            http://www.softronix.com/download/tgla.zip


Have fun in your computer programming adventures!

Catamount Kids Dr.H. LOGO


Local Geologist Stuart Strife Joins us for Catamount Kids 2014-2015 Session 2 in April 2015

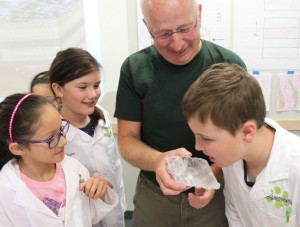
CCatamount Kids Geology with Stuart Strifeatamount Kids is pleased to once again have Stuart Strife guest teach in our program this spring.  Stuart will be presenting a lesson titled “The Rock Cycle.”

The Rock Cycle

Ever wonder what makes one rock different from another?  In our Rock Cycle lesson, we will gain an understanding of minerals, the building blocks of rocks, and how they make up the rock cycle.

DifferentMinerals_CatamountKidsWe’ll examine the physical properties of minerals, construct a table of characteristics, and use a decision tree to identify various types of minerals.

This new knowledge of minerals will help us identify different rocks from Vermont and understand how the landscape of our state was created.


Exploring Pigments with Paper Chromatography

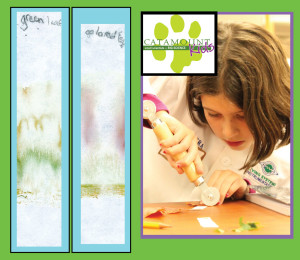
 In our Catamount Kids Elementary Program, one of our favorite labs is “Leaf Chromatography”. In Leaf Chromatography, we use paper chromatography to learn about the different pigments in leaves.  We test leaves that are still green, and we compare those green leaves to leaves from the same type of tree that have already changed colors.  This experiment is really easy to perform, and the really cool observation is that the kids can see how the green leaves contain a lot of green pigment, called chlorophyll, and also a lot of yellow pigment.  In the leaves that have already changed color, there may be a small bit of chlorophyll (green) remaining, but mostly you are left with yellow, and if the leaf has progressed far enough, some reds, oranges or browns as well.  We make the point here that the green leaves appear green due to the abundance of the green pigment chlorophyll.  Once the chlorophyll starts to fade in the fall due to the shorter daylight exposure, the yellow color that was there all along starts to affect the appearance of the leaf.  The brown, red, and orange color is usually due to the appearance of new pigments that develop only in the fall after photosynthesis slows down.
Doing Paper Chromatography at Home

Supplies Needed for Paper Chromatography:
•Glass Jar
•Popsicle Stick
•Coffee Filter
•Rubbing Alcohol
•Pigments (e.g. food coloring, magic markers, fabric dye, or fruits/vegetables)

Paper Chromatography is a really simple process to perform, and you can do lots of fun experiments right at home. All you need are some basic supplies you are likely to find already present in your home: a glass jar, a popsicle stick, a coffee filter, some rubbing alcohol, and some pigments to test (e.g. food coloring, magic markers, fabric paints/dyes, fruits or vegetables).

Here, we’ll walk through the procedure for doing a chromatography experiment to investigate the pigments in Sharpie® markers.

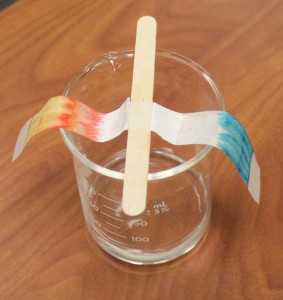
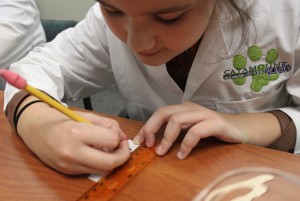
1. Start by cutting a small rectangular strip from a coffee filter. You want to be able to hang the coffee filter strip from the top of your glass jar using the popsicle stick (see Step 5), so make sure to cut the filter strip long enough so that it will reach almost to the bottom of the jar, but not quite touching the bottom of the jar.


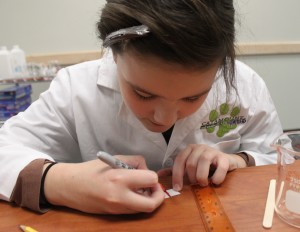
Draw a Staring Line With Pencil2.  Once you have the filter strip cut, using a pencil, draw a line with about 1 ½ cm from the bottom of the filter strip. The line should go horizontally across the width of the filter strip. Make sure to use pencil for this line, as a pen or marker contains pigments that will interfere with your test. The pencil line will be the starting point. You will use this line to mark the position where you will apply your pigment sample.


Apply Pigment to Your Start Line

3. Take your pigment sample, e.g. marking pen, and draw over your pencil line back and forth several times. You want to apply a nice even coating of your pigment all the way across the width of your filter paper.


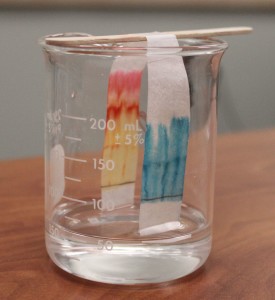
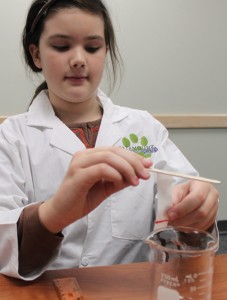
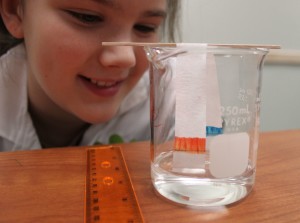
Attach Your Filter Paper to the Stick 4. Now attach your filter paper strip to the popsicle strip using a small piece of scotch tape. The filter strip should hang down from the stick. The pigment sample should be at the far end of the filter strip, away from the popsicle stick. You can also prepare two filter strips with different pigment samples and hang both strips from one popsicle stick, one on each side. This approach lets you test two samples per jar.


Hang the Stick on the Jar
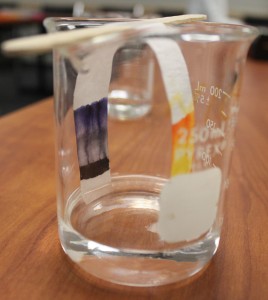
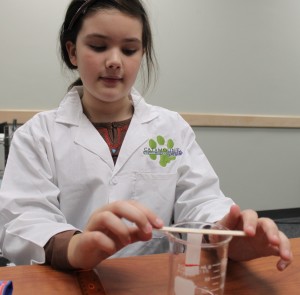
5. Place the popsicle stick on the top of your glass jar so that the filter strip hangs down into the jar. The filter paper should not touch the bottom of the jar. Also, the filter paper should not touch the sides of the jar. The filter strip should hang freely down into the jar, suspended from the popsicle stick. The pigment sample should be towards the bottom of the jar.


Pour Rubbing Alcohol Into Jar
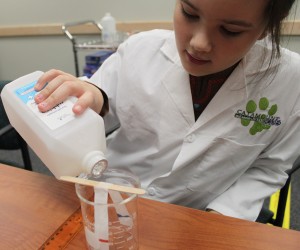
6. Carefully pour rubbing alcohol into the jar. Try not to let the alcohol touch the filter paper as it is being poured into the jar, since this will cause your pigment to smear. Pour the alcohol until you have a thin layer of alcohol in the bottom of the jar and the level of the alcohol just touches the bottom of the filter paper strip(s). You do not want to add so much alcohol that will cause your pigment to be below the level of the alcohol. Your pigment sample should be above the alcohol layer. You want the alcohol to gradually wick up the filter paper. As the alcohol reaches the pigment sample, it will carry the pigment along with it, up the length of the filter strip.


Let the Chromatography Sit for 45 min to 1 hour
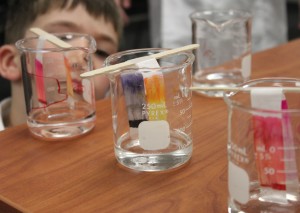
7. Let the glass jar sit undisturbed. You can watch the leading edge of the alcohol as it climbs the filter paper strip. The leading edge of the alcohol is called the “solvent front.” You will notice the pigment sample will smear as it is pulled up the filter paper with by the alcohol.


Stop Chromatography Before Solvent Front Reaches Top of Filter
8. Stop the experiment by removing the filter paper strips from the jar when the solvent front is about 1.5 cm from the top of the filter paper. This should take about 45 minutes to an hour, depending on the length of your filter paper strip and the temperature/air currents in room.


Allow Chromatography to Dry
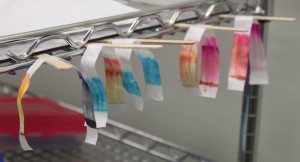
9. Once you have removed the filter strips, place them out to dry. After the filter paper has dried, you can examine the results. Did the results surprise you?


Black Marker Pigments
Depending on the sample you used, you may find some very interesting results.  Black markers are especially interesting to examine.  We found that black Sharpie® markers contain lots of purple pigment that advances with the solvent front, however, a lot of dark pigment did not leave the starting position.


Green Food Coloring
Green food coloring was also another interesting sample.  We found that rubbing alcohol easily separates green food coloring into yellow and blue pigment components.


Here are some more fun examples of Paper Chromatography:

Catamount Kids Watching ChromatogramsChromatograms Drying

Catamount Kids 2014 Summer Camp 2 – Learn to Solder

IMG_4219

Catamount Kids Learning to Solder

Learning to Solder with Catamount Kids

Have your kids ever done a soldering project?  Many kids enjoy soldering, and it’s a great way to encourage a fun activity that has components of arts & crafts and science/technology.  Our August Learn to Solder Camp is a perfect way to see if your child will enjoy soldering.  If your child already has some soldering experience, our camp is a great way to encourage and promote their involvement in this activity.

LearnToSolderProjects

Kids can select 1 of 4 soldering projects

This activity is open to kids in grades 3 and up.  We will have support staff on hand to help the kids with their soldering projects.  Kids will be able to choose from 1 of 4 different soldering projects.

Choose from 1 of 4 projects:

-“Simon Says” game

-“Decision Maker” that gives a Yes/No answer to any question you ask of it

-“Metronome” for the musicians; the metronome has adjustable volume and beat, and an LED blinks to show the beat

-“Electronic Dice” that shows a number between 1 and 6 when you give it a shake

Teaching Electricity Using Snap Circuits

Fun with Snap Circuits

Catamount Kids Having Fun with Snap Circuits!

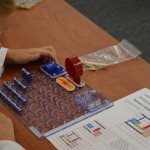
We will also use our popular Snap Circuits kits to do some general electricity projects.  Kids will learn about complete circuits, short circuits, and what happens if a circuit is incomplete.  They will get to see what happens to current flow when electrical resistance increases in both series and parallel circuits.

Soldering_IMG_4236

Hands-on Soldering Activity with Catamount Kids


Course Date: Saturday August 23, 2014

Course Time: 9 AM to 12 PM

Location: Catamount Research and Development

Cost: $35 per student.  Kids get to keep their soldering project.